Layout photos Page Three
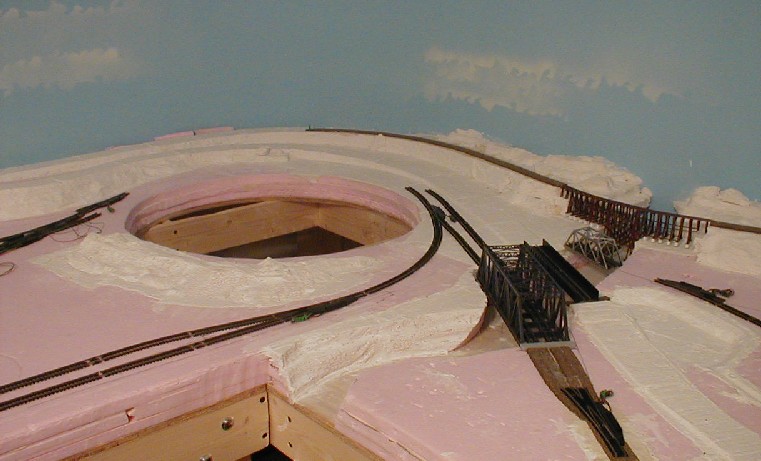
Here you can see the circular "access" that I cut out. The material removed will
eventually be replaced, but will always be "removable" for access to the far corner of the
layout. Access cut-outs are common whenever there's a large depth to consider. Without the
access, I'd have a very difficult time later if the track work in that far corner needed
attention. If the layout were an "island" arrangement--not bordering any walls--then the
access might not be necessary. You can also see, in this photo, the manner in which I've
carved out the river canyon in the built-up foam board. The foremost and rearmost bridges
are the "mainline" bridges. The inner two are for the shortline.
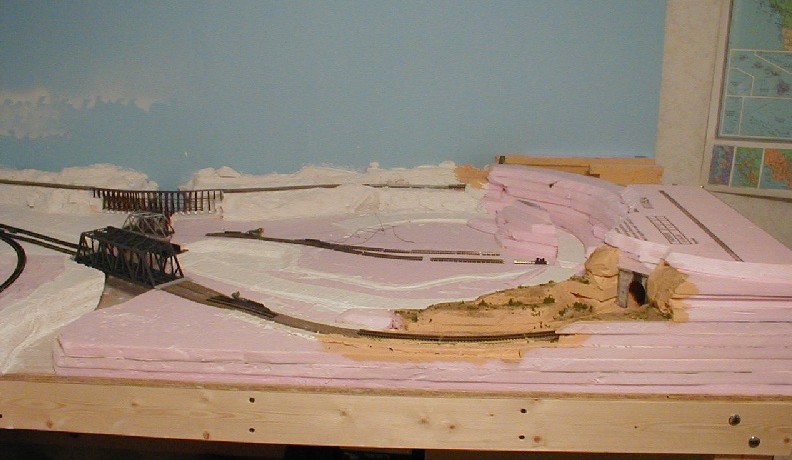
And here is the West Texas section, with accompanying mountain and tunnel area. I've
completed a "test" section of scenery near the tunnel's exit, but this was later reworked.
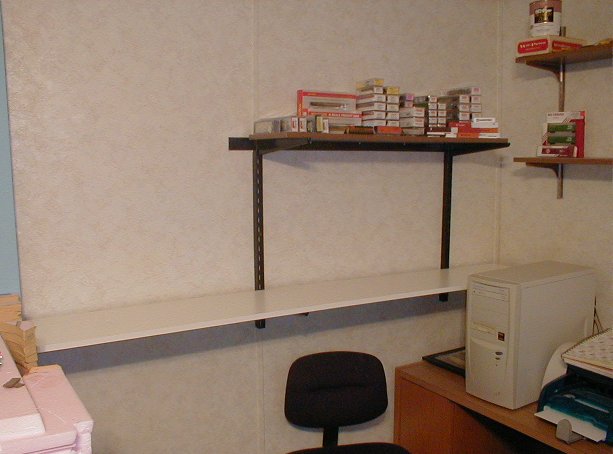
This would appear to be a common shelf. And as such, you may be asking what a shelf
has to do with layout photos. Well, this isn't just any shelf... it's my future "staging yard."
A staging yard is where trains are composed (at least on my railroad). My staging yard is not
part of the actual layout, but trains in the yard can be brought onto the layout via a tunnel
through the West Texas mountain! Ideally, most people would like to have four or fives trains
on a layout my size. But having that many trains on the layout at once would be cluttered, so
the staging yard is where the extras will be parked when not in use.
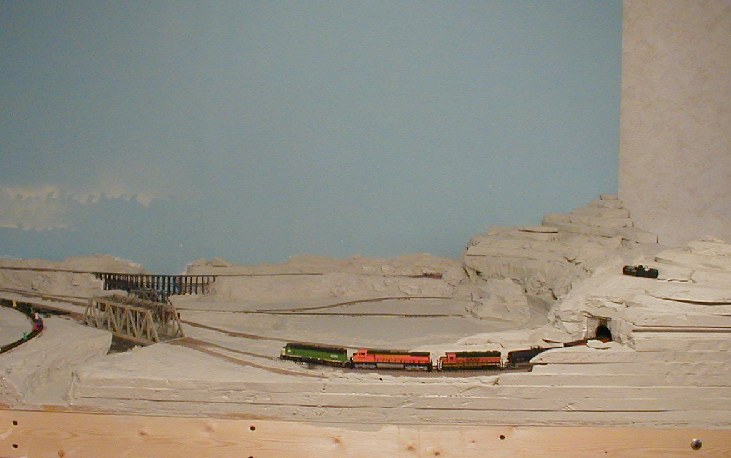
Now we fast-forward a bit more. This shot shows a totally revamped mountain/tunnel
section. The mountain form has been completed, and the entire landscape painted a medium gray
base color (interior latex from Home Depot). It doesn't look like much, but a ton of work took
place between previous photos and this one. First of all, the roadbed, track, and ballast all
had to be laid beneath the tunnel section before the mountain's top could be added.
Copyright Van Designs and contributors - All rights reserved.


