Layout photos Page Two
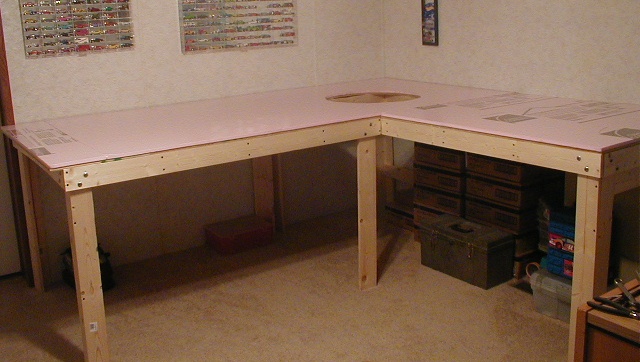
I opted for the built-up foam board solution for creating "depressions"
(like lakes and rivers). I decided early on to [loosely] model a DFW-to-West Texas
line, so I wanted to have some ability to create canyons and such. I accomplished
this by stacking layers of extruded high-density foam board atop each other. This
stuff is typically used for insulation and is available at Home Depot, Lowe's and
various other home supply outlets. This photo shows the first of several layers
installed.
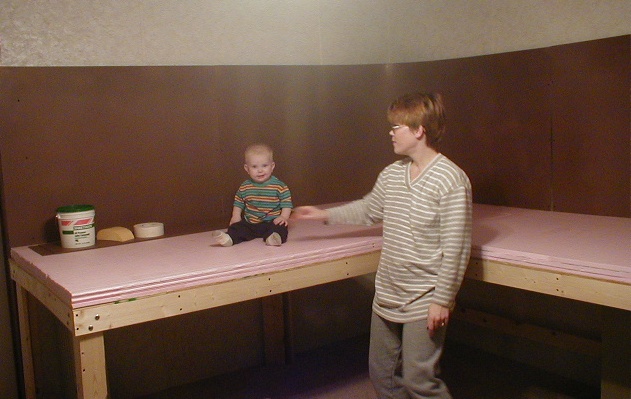
Here is my lovely wife and youngest son. You may notice the three layers of foam
board and the Masonite backdrop installed. The backdrop is 1/8" and was installed by screwing
supports to the frame work and then screwing the Masonite to the supports. It took two 4x8'
sheets, and they were ripped at 36 inches. You might think you wouldn't need a 36" backdrop
in N-scale, but I'm glad I made mine that tall.
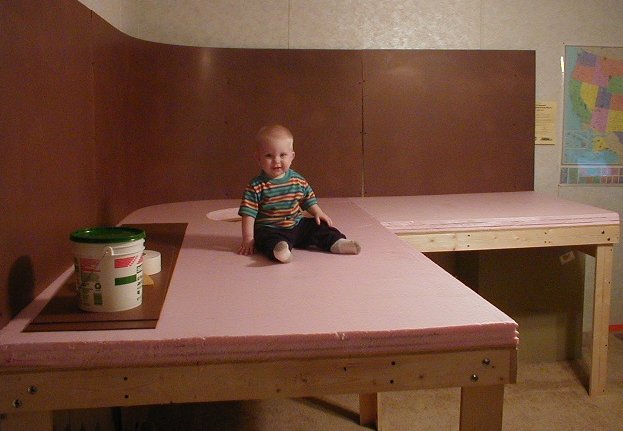
My silly son again ;-> But in this photo you can see how the Masonite was installed.
You'll notice that the one full-length section is in the middle. This was done intentionally
so that I could have a smooth curve in the elbow of the layout. This center piece was installed
first, then the two end pieces were added to each side.
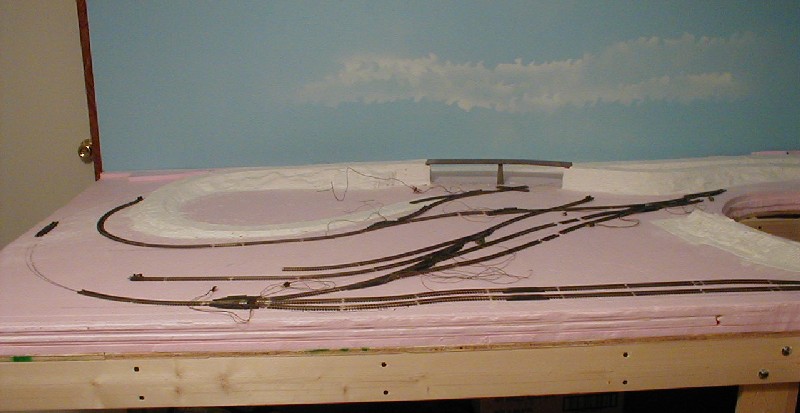
Now we fast-forward a bit. This shot shows what will be a future rail yard area, and
the first of several elevated sections of track. I used Woodland Scenics inclines and risers
to achieve the elevations. They were a natural mate to the high-density foam board, and kept
the incline calculations simple. My railroad consists of a mostly single track mainline, with
a "shortline" layout inside the main. Both lines begin and terminate in the DFW area. The
mainline inclines are limited to 2%, but the shortline has some slightly steeper grades. Note
also the backdrop painted sky blue with initial clouds added by my wife :-)
Copyright Van Designs and contributors - All rights reserved.


